Set up a new face
To set up new facial recognition, your need to be in Bluetooth range with your Lockly Visage.
Turn off silence mode on your phone for audio guide during the scanning process.
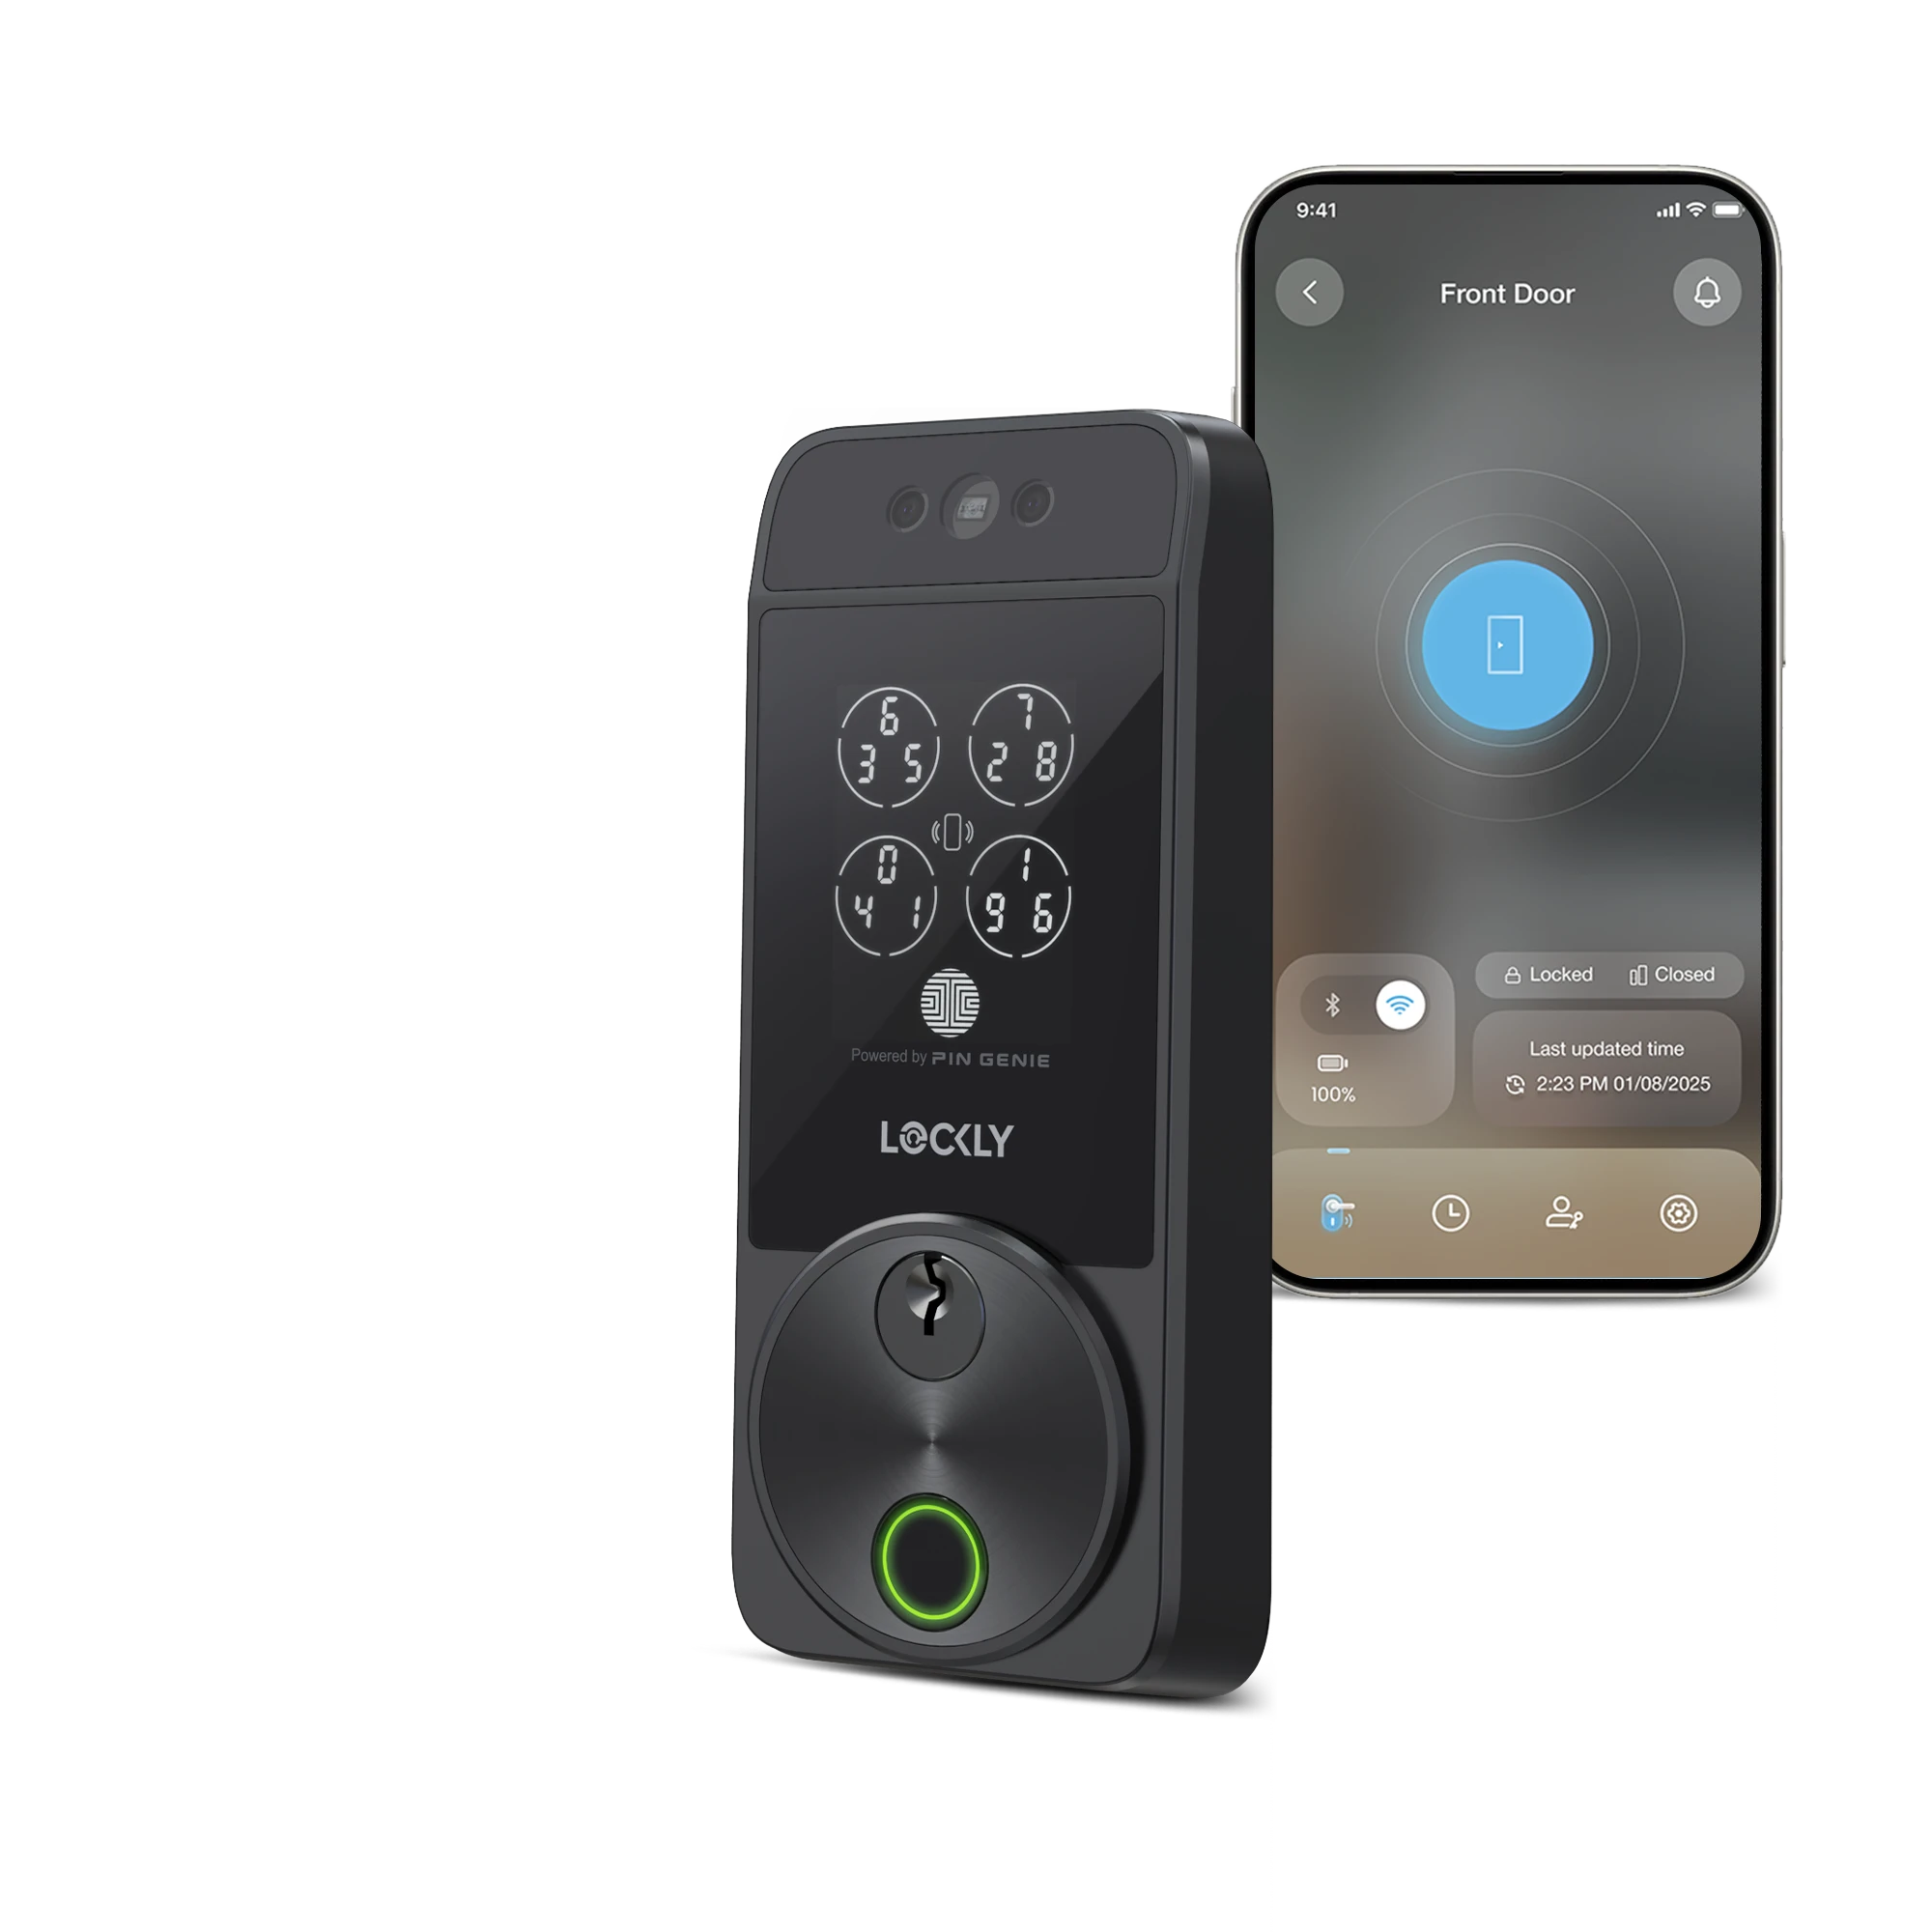
- In the Lockly app, tap Access
- Select the user from the user list. To set up a new user, tap Add User.

- Tap Visage ID, then tap Add Visage ID, tap Start to begin scanning.


- Follow on-screen instructions to scan your biometric data. The LED light around the fingerprint sensor will turn blue while scanning.


Each user can import up to 2 Visage ID for improved accuracy.
Unlock with facial recognition
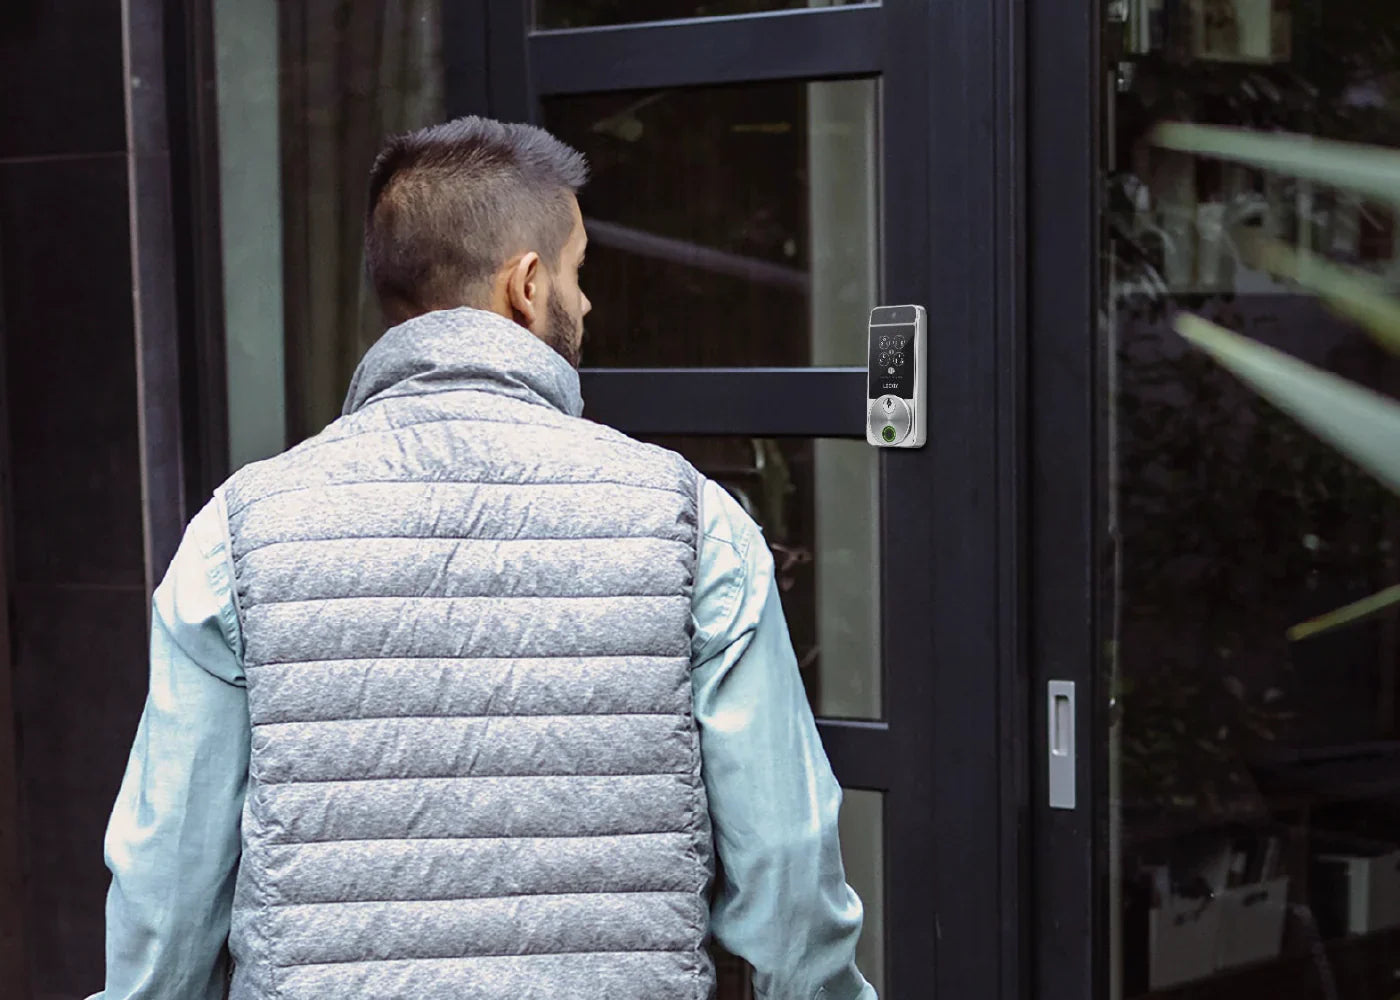
- Stand 1 — 3 feet (0.4m - 1m) directly in front of the lock. For optimal distance, refer to the below graph.

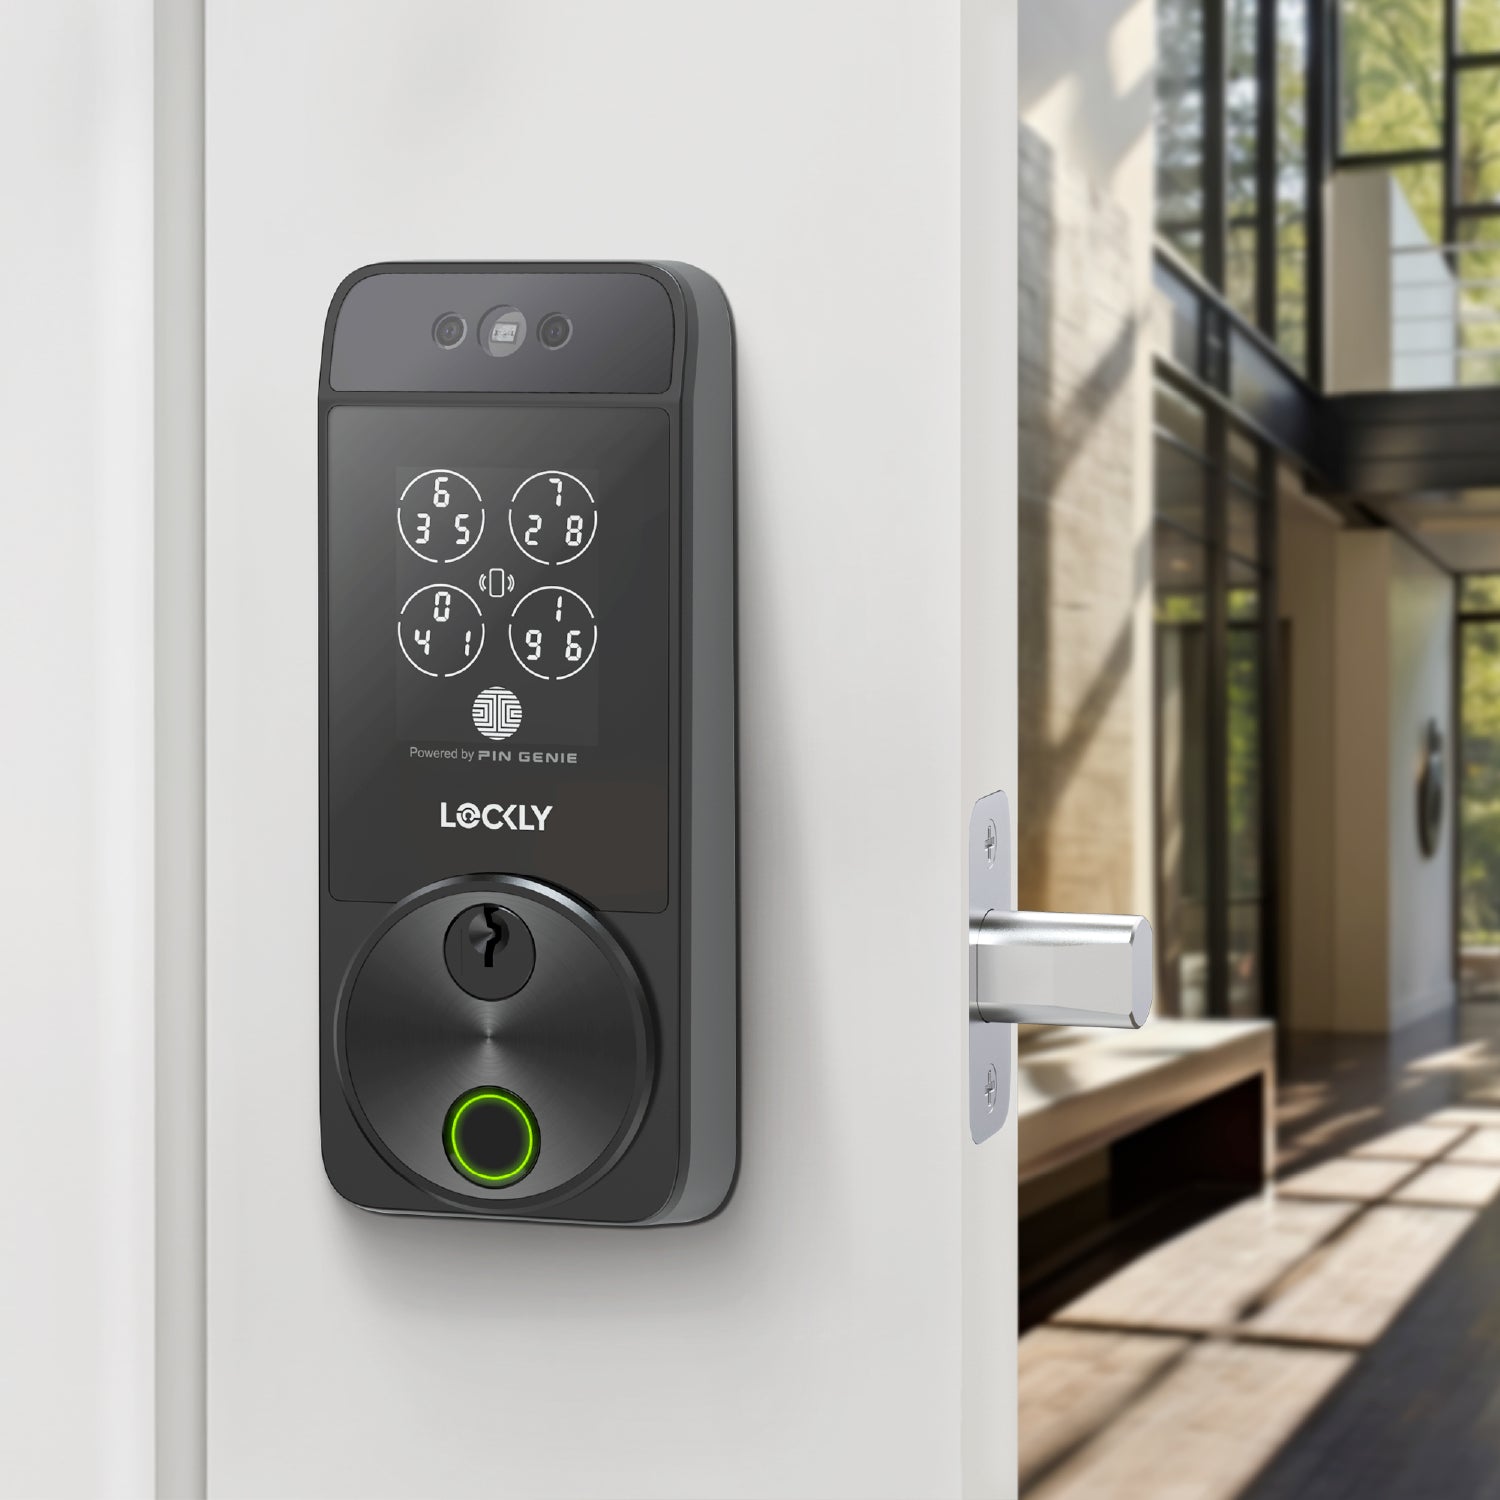
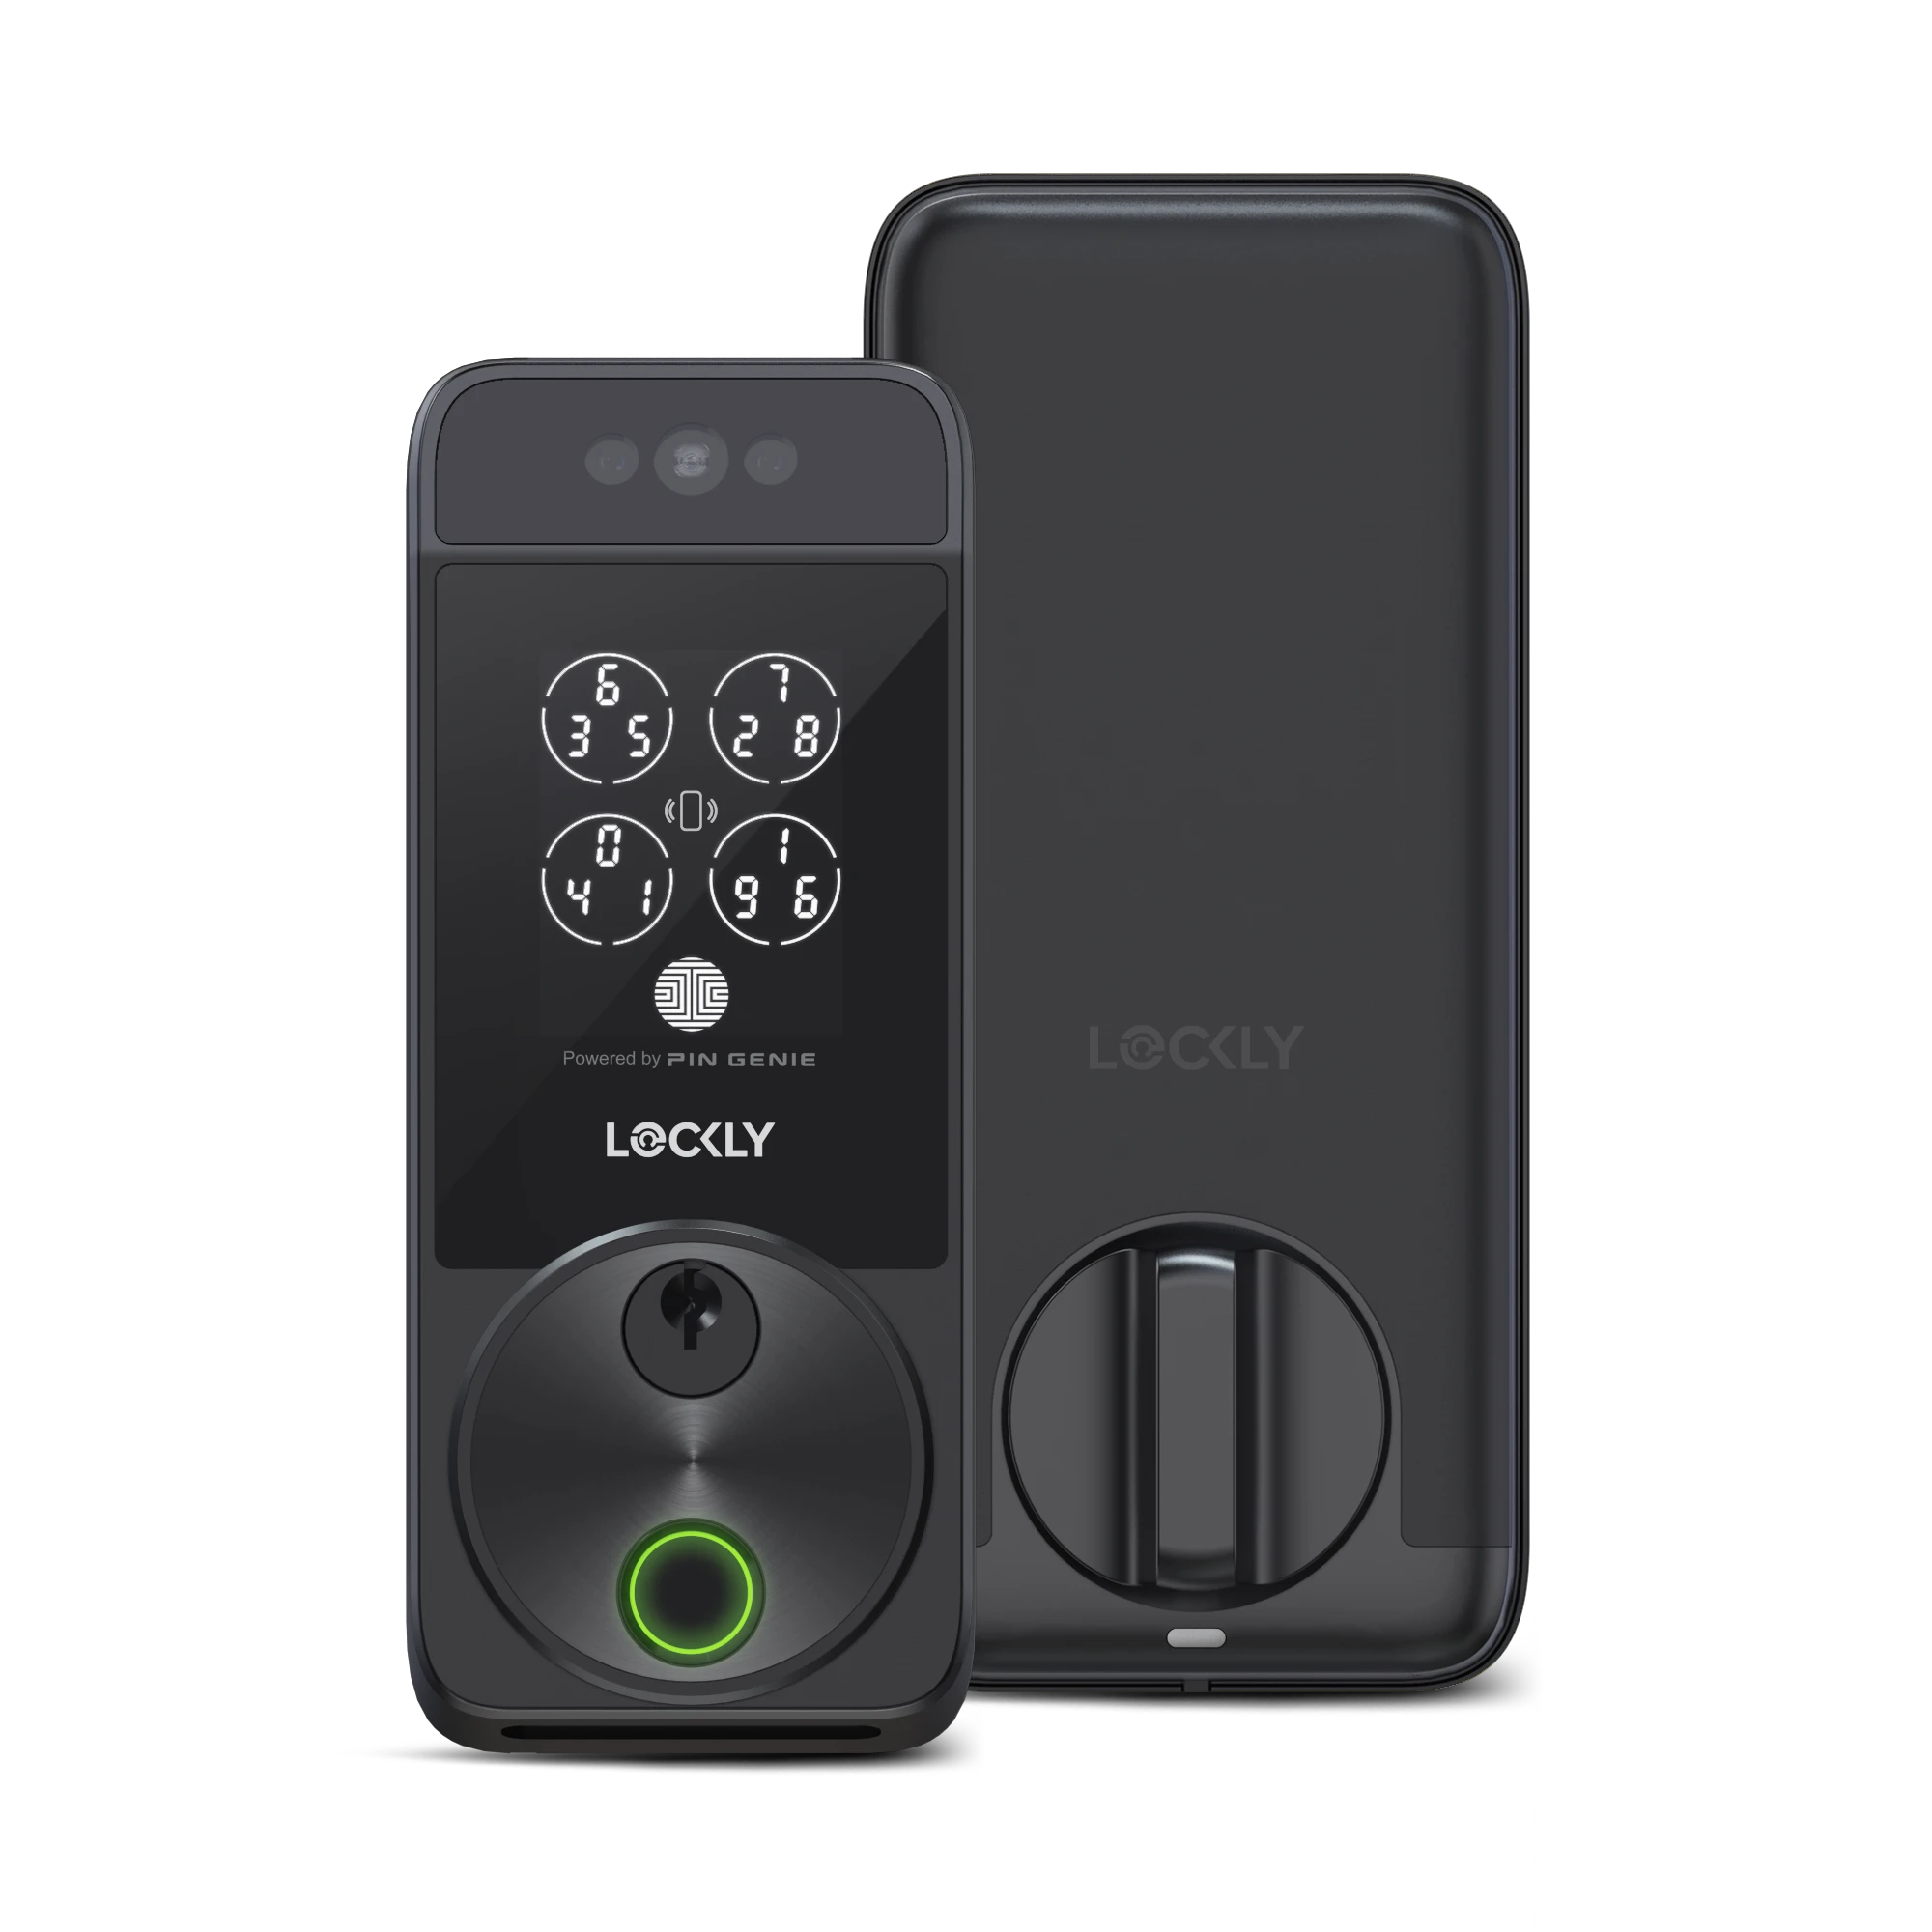
- The LED ring light around the fingerprint sensor indicates the following for facial recognition.
Blue Light: face detected; scan started
Green Light: door is unlocked
Red Light: adjust your distance and ensure nothing is obstructing your face
For security reasons, facial recognition will be temporarily disabled after eight failed attempts within two minutes.
To conserve battery, facial recognition is automatically disabled when the battery power drops below 20%. To reactivate it, install a fresh battery.
Remove a Visage ID
- Tap Access, then select the user you need to edit.
- Tap Visage ID
- Select the Visage ID you want to remove.
- Tap Delete at the top right of your screen.

